Using Custom HTML Elements In A Reveal.js Deck
Published: April 22, 2017
I’m currently in the process of preparing slides for an upcoming talk. One technique I’m using to help structure the talk is an “agenda” slide. It’s basically a bulleted list of topics that will be covered in the presentation.
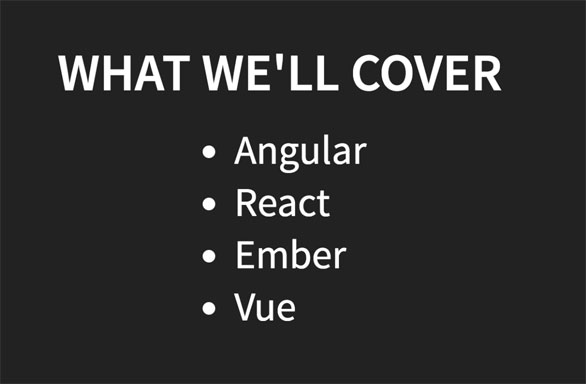
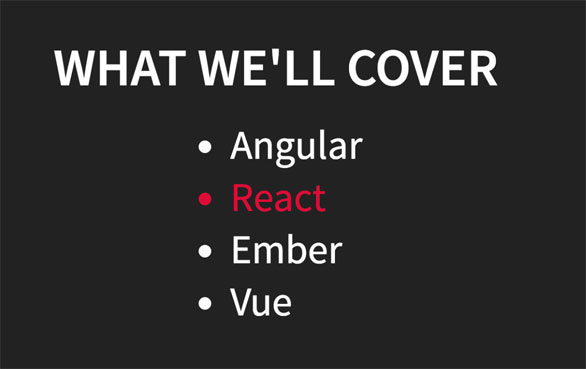
As I’m presenting, to facilitate a smooth transition, I pull up the “agenda” slide each time I’m about to dive into a new topic. There, the next topic is visually distinguished from the other topics.
I’m using reveal.js for the presentation, which allows me to write my slides in HTML (or Markdown), CSS and JavaScript. So the markup looks something like this…
<h3>What We'll Cover</h3>
<ul>
    <li>Angular</li>
    <li class="current-topic">React</li>
    <li>Ember</li>
    <li>Vue</li>
</ul>
As I was working on the slides, I started getting frustrated with copying and pasting the agenda over and over. Doing so means that if I decide to include a new topic in the talk, I need to update multiple instances of the agenda, spread across the deck.
Here I’ll show you how I used a custom HTML element to solve this problem.
Hello World
Remember our markup…
<h3>What We'll Cover</h3>
<ul>
    <li>Angular</li>
    <li class="current-topic">React</li>
    <li>Ember</li>
    <li>Vue</li>
</ul>
The way we’d like that to look is like this…
<h3>What We'll Cover</h3>
<x-agenda data-current-item="React"></x-agenda>
In order to do this, we need to write our implementation and then define it as a custom element. Let’s start with a basic hello world…
class Agenda extends HTMLElement {
  constructor() {
    super();

    const ul = document.createElement('ul');
    const li = document.createElement('li');
    li.innerHTML = 'Hello';
    ul.appendChild(li);
    this.appendChild(ul);
  }
}

customElements.define('x-agenda', Agenda);
Now if we refresh our browser here’s what we’ll see…

Listing The Actual Agenda
It’s great that we got our custom element to hello world, but not particularly useful. Next let’s have it list the full agenda.
Here’s well keep the agenda in an array and then use Array.prototype.map to loop through it and build the list. The code looks like this…
class Agenda extends HTMLElement {
  constructor() {
    super();

    const items = [
      'Angular',
      'React',
      'Ember',
      'Vue'
    ];

    const ul = document.createElement('ul');

    items.map((value) => {
      let li = document.createElement('li');
      li.innerHTML = value;
      ul.appendChild(li);
    })

    this.appendChild(ul);
  }
}

customElements.define('x-agenda', Agenda);
Now if we refresh the page you’ll see we have the full list.
Highlighting The Current Item
If you remember, one of the requirements of x-agenda element was to be able to visually highlight one of the items in the list. The goal was express that intention with a data attribute…
<x-agenda data-current-item="React"></x-agenda>
For the list item with text matching the data-current-item attribute, we wanted to have a special CSS class applied.
<li class="current-topic">React</li>
In our custom element, we can access the data-current-item property through the getAttribute method.
We first read the value of the attribute and store it in a variable…
const current = this.getAttribute('data-current-item')
Then, as we iterate through the items array, we check if if the current value in the array matches the data attribute, and add the class if so…
if (current === value) {
  li.classList.add('current-topic');
}
Putting it all together, we have this…
class Agenda extends HTMLElement {
  constructor() {
    super();

    const items = [
      'Angular',
      'React',
      'Ember',
      'Vue'
    ];

    const ul = document.createElement('ul');

    const current = this.getAttribute('data-current-item');

    items.map((value) => {
      let li = document.createElement('li');
      li.innerHTML = value;
      if (current === value) {
        li.classList.add('current-topic');
      }
      ul.appendChild(li);
    })

    this.appendChild(ul);
  }
}

customElements.define('x-agenda', Agenda);
Browser Support
At the time of writing this, unfortunately browser support for custom elements is poor. According to caniuse.com, currently there is only ~58% browser support.
Fortunately you can use this polyfill for browsers that don’t yet support custom elements.
Conclusion
I hope that some of you found this post helpful. If you have any questions or comments, feel free to drop a note below, or, as always, you can reach me on Twitter as well.
 Hi, I'm Max!